In this lesson we are going to navigate using buttons
Open up a new Flash document. Call it 'Navigation' and save it.
Layer1 will already be there - relabel that Text.
Insert keyframes into the first five frames of the text layer.
Use the Text Tool from the left hand tool bar to label each frame - Frame 1, Frame 2 etc.. We are doing that so that we can easily see where we are going within the Flash document.
Within the timeline click on frame 1 and then choose Control (from top menu bar) Test Movie. You will see the frames play through quickly and then continually repeat.
We need the action to stop at each frame so that we can truly navigate between them. We therefore have to insert some actionscript - communicate with the computer program in its own language. The syntax of this language is very strict - the wrong character (for example a colon instead of a semicolon) and the whole thing will not work - or will do something we don't want it to!
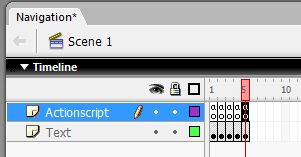
Insert a new layer (Insert - Timeline - Layer). Call it Actionscript. On the actionscript layer insert keyframes for the first five frames. I have found that it is best to have the script, text, sound and graphics in a separate layer. You will then find things more easily and be able to amend your file much more easily too.
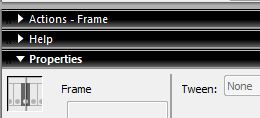
To insert Actionscript in a frame you need to select the frame and then open the action dialogue frame at the bottom of the page.
Click on the little arrow triangle and it will open up.
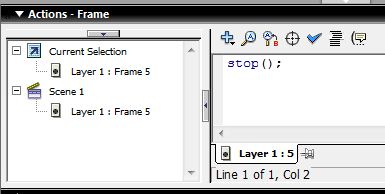
To make the computer stop at each frame you have to type stop(); in the dialogue box of each frame.
If you look at the timeline you will see that frames you have added actionscript to will have a tiny 'a' in the cell.
If you now try playing the Flash document you will find that it will only play frame 1 and stop. We need to insert a button on that page so that the user can choose when to continue.
Open up the Library - Window (top menu bar) then tick library.
Insert a new layer - call it 'navigate' - we are going to put all of the buttons we use in that layer. Click on the frame 1 in that layer - it will go black when you select it.
Go to the DiDA folder on the school network and open up the Flash Library folder. Choose five buttons.and drag them onto your Navigation Flash Document screen.
They will then appear in the library for that file.
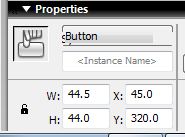
To position the buttons properly you should set the y and x co-ordinates for their positioning.
I have chosen to have them on a horizontal line at the bottom of the screen. I therefore need each one to have the same y co-ordinate. I want them equally spaced so I have an equal interval between the x co-ordinates.
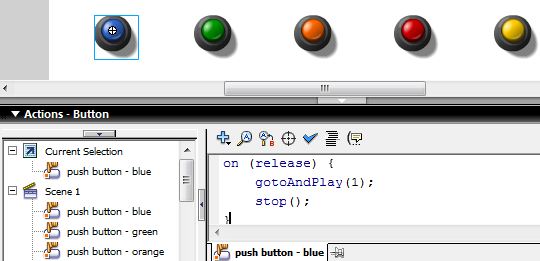
Now click on your first button.It will have a blue box appear around it when you have selected it. Now Open the action script dialogue - the script has to be associated with this button.
Type in the following:
on (release) {
gotoAndPlay(1);
stop();
}
You need to do this for each button - but you want the program to move to a different frame for each button so change the (1) to (2) for the second button, to (3) for the third etc.
Here is the sample you should have made. Try it out - pressing a different coloured button takes you to a different frame.
Perhaps you want to add a layer for a background, add some more graphics - or sounds. Play around with it and you will begin to understand the possibilities.
When you are happy with your attempt export it as a Flash document.

 We need the action to stop at each frame so that we can truly navigate between them. We therefore have to insert some actionscript - communicate with the computer program in its own language. The syntax of this language is very strict - the wrong character (for example a colon instead of a semicolon) and the whole thing will not work - or will do something we don't want it to!
 To position the buttons properly you should set the y and x co-ordinates for their positioning.
 Now click on your first button.It will have a blue box appear around it when you have selected it. Now Open the action script dialogue - the script has to be associated with this button.