Making the animated gif - continuedStage 2 making the animation
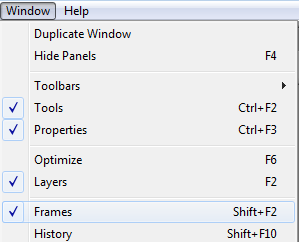
Within Fireworks it is possible to save a sequence of images. Open the Frames panel - Window - Frames.
The Frames Panel will appear on the right hand side of your screen.
The symbols at the bottom of this window allow you to choose the properties of your animation. You can choose how often you want your sequence of images to repeat by clicking on
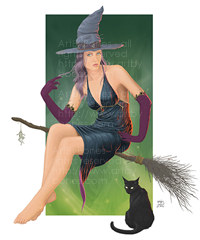
When I had the animation working as I liked I was then able to add the static script and image. I saved the aminated gif - ALWAYS save your work in stages! I then reloaded it into Fireworks and added the static graphics to it. I only needed to do that once - it went on all layers. I altered the order of the graphics and ran the animation through. When I was happy with it I saved it under another name - so I still had a copy of my earlier version. You need to decide on the position of the graphics and their size. Text should be readable! You can give credit to an originator of a graphic on the gif... and on a webiste a link to their site is useful too. It all depends on how much of your creation should be credited to someone else! I took the cat from an image by 'Bones'
I sought permission to use it even though I have not used the main part of the picture in my animation. 'Nicking' part of someone's work is as bad as 'nicking' the whole thing! Ask permission and give credit to the originator of the graphic. I filled in the cats' eyes witha gradient green fill as I wanted them to stand out more. If I was writing up why I used the cat image I would simply say it enhanced the finished product - and that I lacked the skill to produce one of that quality. The alternative would be to do a simple sihhouette... but the shading on this image is far superior. Remember in a DiDA writeup you need to justify decisions... but saying you liked the effect and that others did to (testing out the work on others) is all that is needed. It is best to show them alternative stages - that way they will not just be 'nice' to you and say what they think you want to hear. My daughter agrees that the cat in the animated gif makes it more professional looking and pleasing to the eye! Do you?
|
|

Custom Search