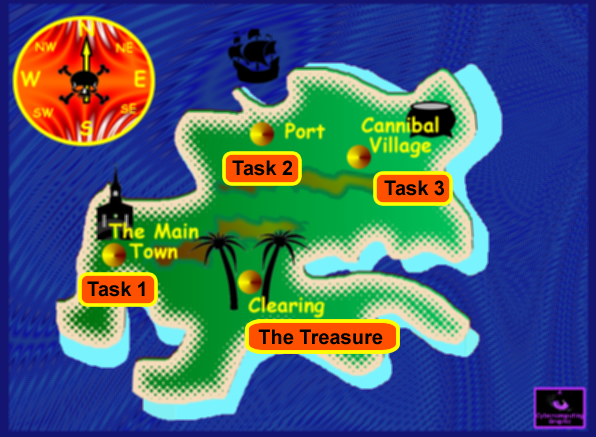
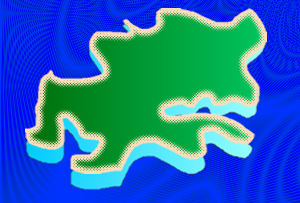
How to make a 'map' graphicThis tutorial will take you through the stages of making a map of an imaginary island. Search on the web and look at map graphics and you will see ones that come from computer games and atlases. These images are usually copyright protected. You therefore cannot use them in a project but they can give you ideas of how to construct your own island. Here is one I created for my example D202 project
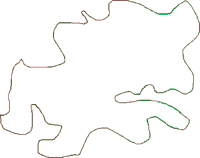
Use the pencil tool to draw an outline.
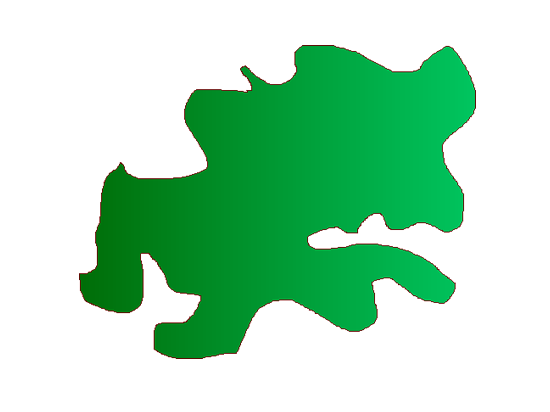
Fill the outline in with a linear gradient green fill.
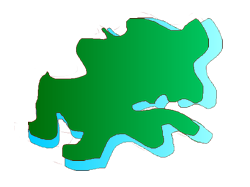
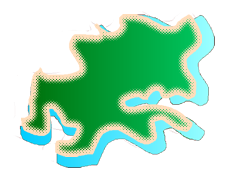
Copy the filled island shape by choosing 'Select - Select all' and 'Edit - Copy' and thereby duplicate it. Paste the duplicate on the page and change its colour to cyan. Amend its size (Modify - Transform - Scale) and repositioned it on the page below the original (Modify - Arrange - Send to Back). This gives the shallow sea effect around the island coast.
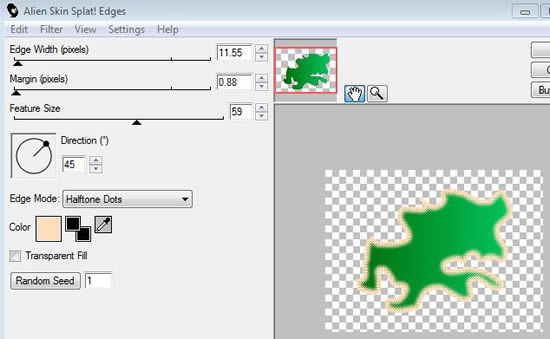
Select the green island and insert a sand coloured outline effect to make the sandy beaches. Click on 'Edge' and choose 'Alien Skin Splat LE'
When this screen opens choose a sand colour and adjust the top three adjustment lines until you are happy with the appearance - then perss okay.
Use a similar method to make an area for the mountain range but gradient fill it with different shades.Then position different sized and orientated copies of that onto the map graphic. Move them around and resize them until you are happy with the effect.
For the background to my map I wanted to get a wavy sea effect so I created a rectangle as ultimate background and positioned it at the back. I used a folds gradient fill with blue variations for the sea. I adjusted the paint bucket tool to get the wave effect I wanted. What type of background you want for your island will be up to you!
Finally put locations on the map - using the text tool and perhaps add icons to indicate locations. I used silhouettes - see here as to how to make them. Add logos etc. as you wish! I added the name of this site and a compass graphic...
|
|

Custom Search
